Before an operating system can load, the computer has to wake up, check its hardware, and figure out what device it should start from. This early startup process is controlled by firmware built into the motherboard. On older computers, this firmware was usually called BIOS. On modern computers, it is usually called UEFI.
For an IT support technician, BIOS and UEFI settings are important because they control many low-level system functions. These settings can affect whether a computer starts correctly, whether storage drives are detected, whether USB devices are allowed, whether security features are enabled, and whether virtualization can be used.
A computer may look like it has a serious hardware problem when the real issue is a simple firmware setting. For example, a system may fail to boot because the wrong drive is selected, Secure Boot is blocking the installation media, or the storage device is not being detected properly. Understanding BIOS and UEFI helps technicians troubleshoot these problems more confidently.
What Are BIOS and UEFI?
BIOS, the Basic Input/Output System, is the older motherboard firmware standard, and UEFI, the Unified Extensible Firmware Interface, is its modern replacement with support for larger drives, faster startup, graphical menus, and stronger security features. Technicians still say “Go into the BIOS” casually even on modern UEFI systems, and both terms refer to the firmware that controls startup and low-level hardware settings. The full comparison, including MBR versus GPT partitioning, legacy mode, and CSM, is covered in the BIOS vs. UEFI article.
The Startup Process
When a computer is turned on, it does not immediately load Windows, Linux, or another operating system. First, the motherboard firmware begins the startup process.
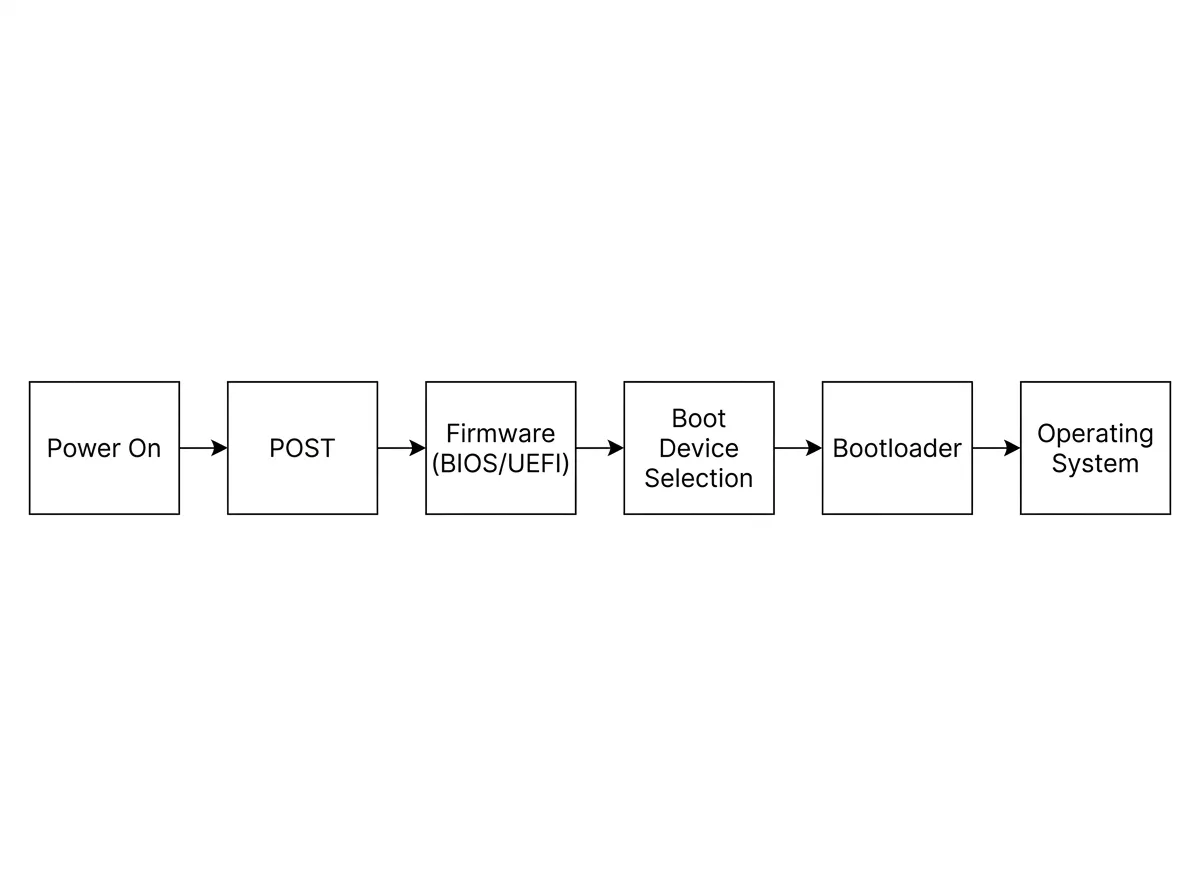
The firmware first runs a quick hardware check called POST, the Power-On Self-Test, to confirm that key components such as the CPU, RAM, storage, and video are working well enough to continue; how POST reports failures through beep codes and diagnostic lights is covered in the POST Beep Codes article in the PC Hardware Troubleshooting section later in the course.
After the hardware check, the firmware looks for a bootable device. A bootable device contains the files needed to start an operating system or installer. Common bootable devices include internal SSDs, hard drives, USB flash drives, optical discs, and network boot sources.
Once the firmware finds a valid boot device, it hands control over to the operating system. At that point, the operating system continues loading and eventually presents the login screen or desktop.
Boot Order and Boot Options
Boot order is the priority list the firmware follows when deciding which device to start from, and it is one of the first settings to check when a computer will not start, shows “No bootable device found,” or needs to boot from an installer instead of the internal drive. Configuring boot priority, using the one-time boot menu, and booting from USB or the network are covered in full in the Boot Order and Boot Options article.
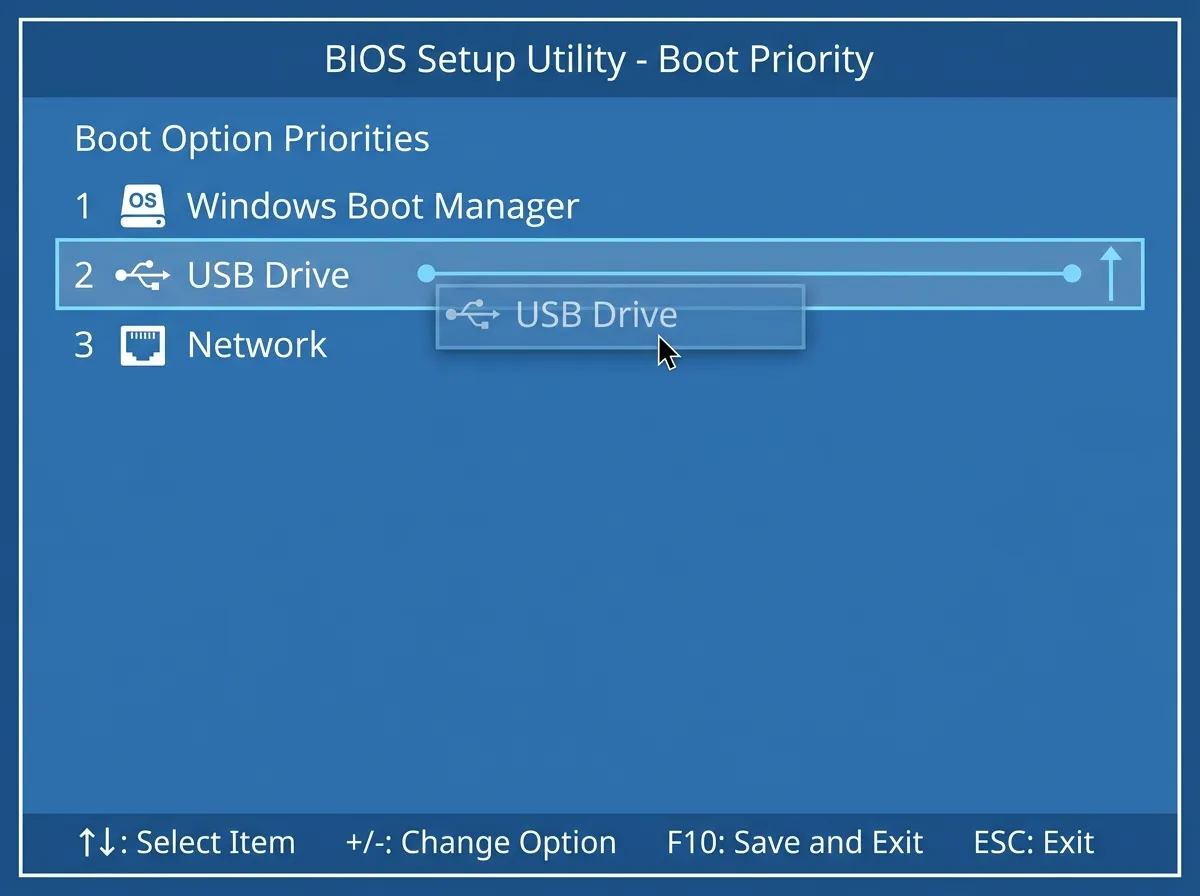
USB Permissions and Booting from External Devices
Firmware settings can allow or block USB ports and USB boot devices. USB boot is convenient for technicians because installers and repair tools run from flash drives, but it is also a security risk, so many organizations restrict it — a technician should never change USB permissions on a managed system without checking policy first.